We thought we would give you a little update on The Wild Aspen. Do you follow @thewildaspen on instagram? During the winter months and early spring we had much more time to work on this project. Once the weather warmed up, all our time went into the farm and getting lots of veggies planted and some flowers mixed in!
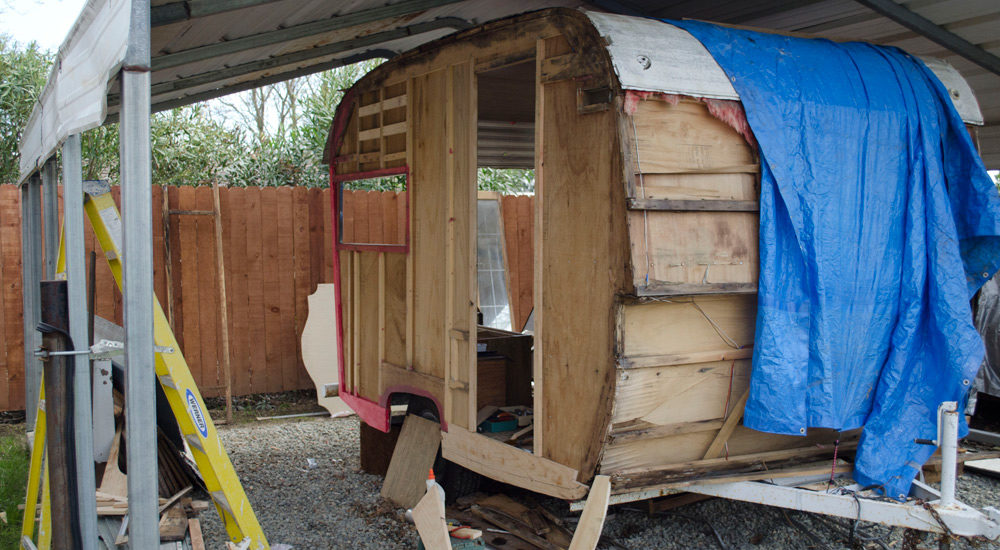
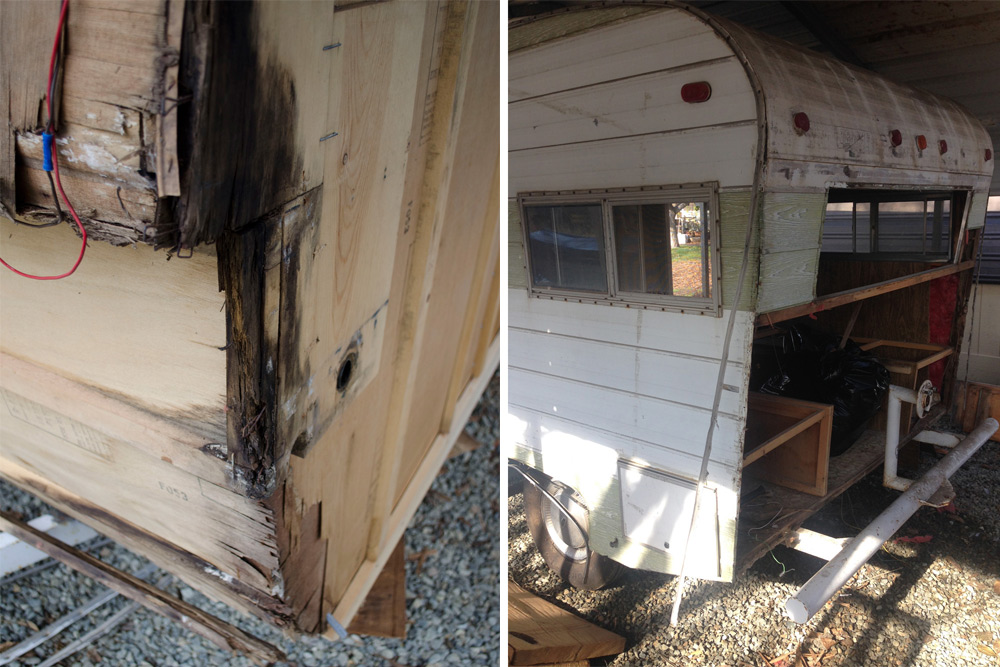
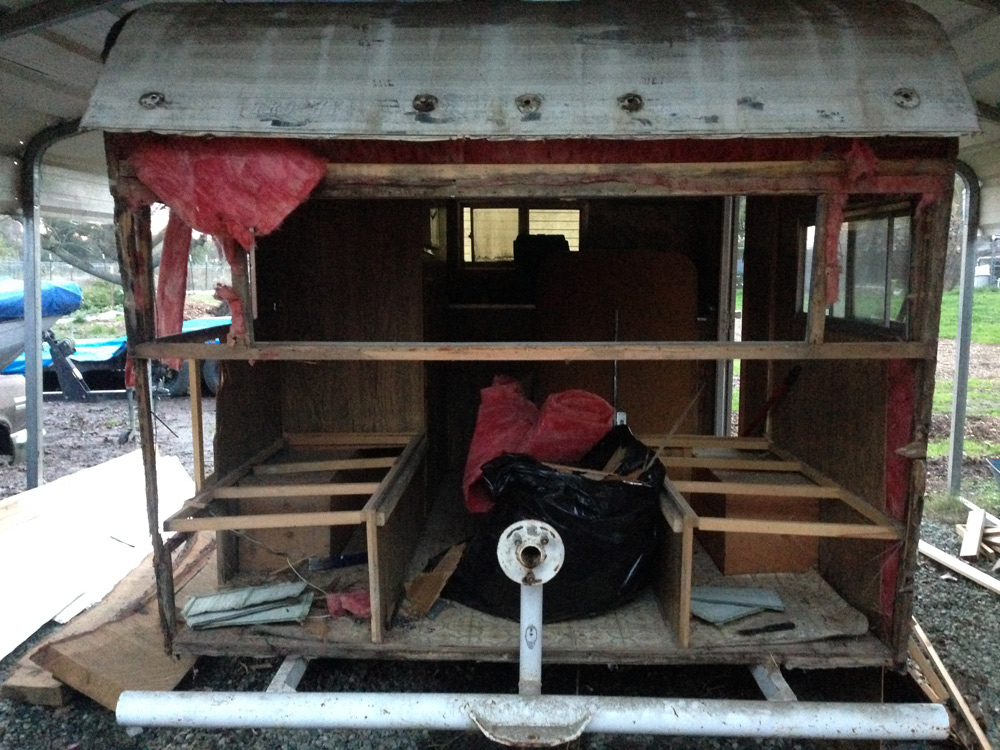
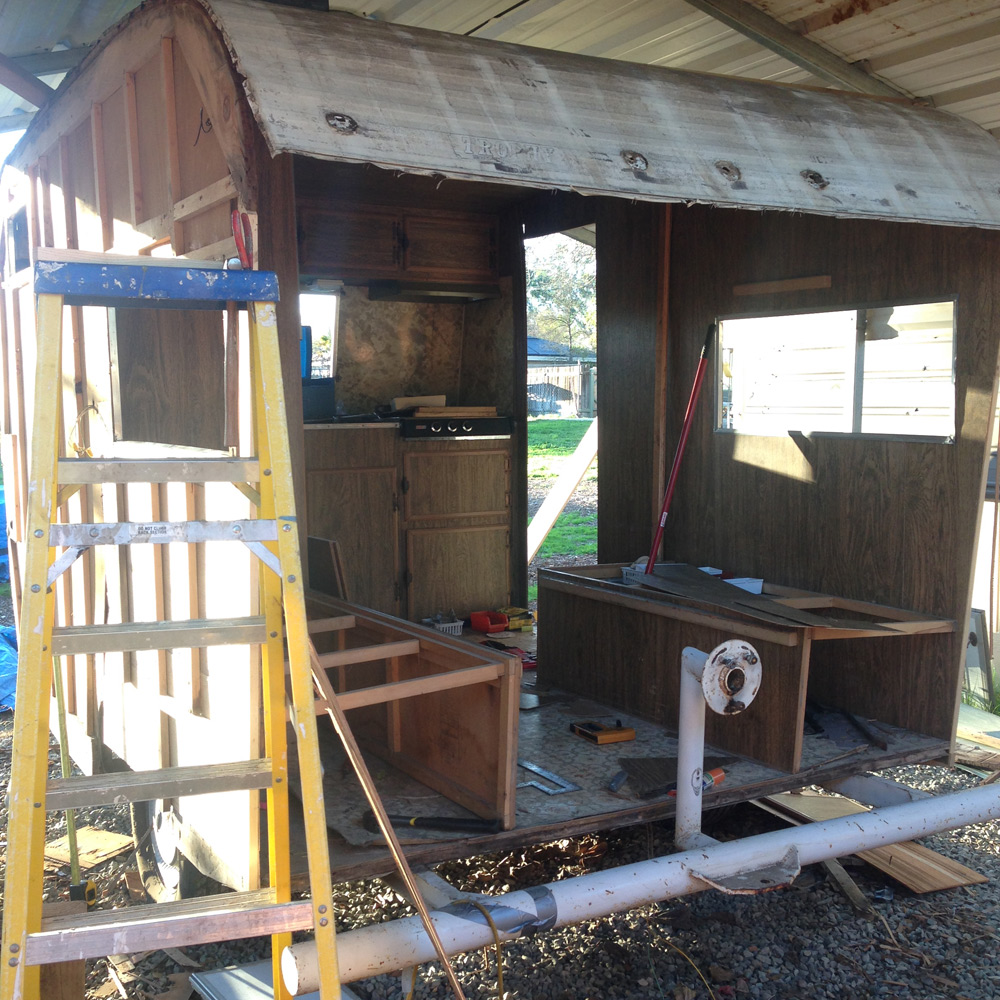
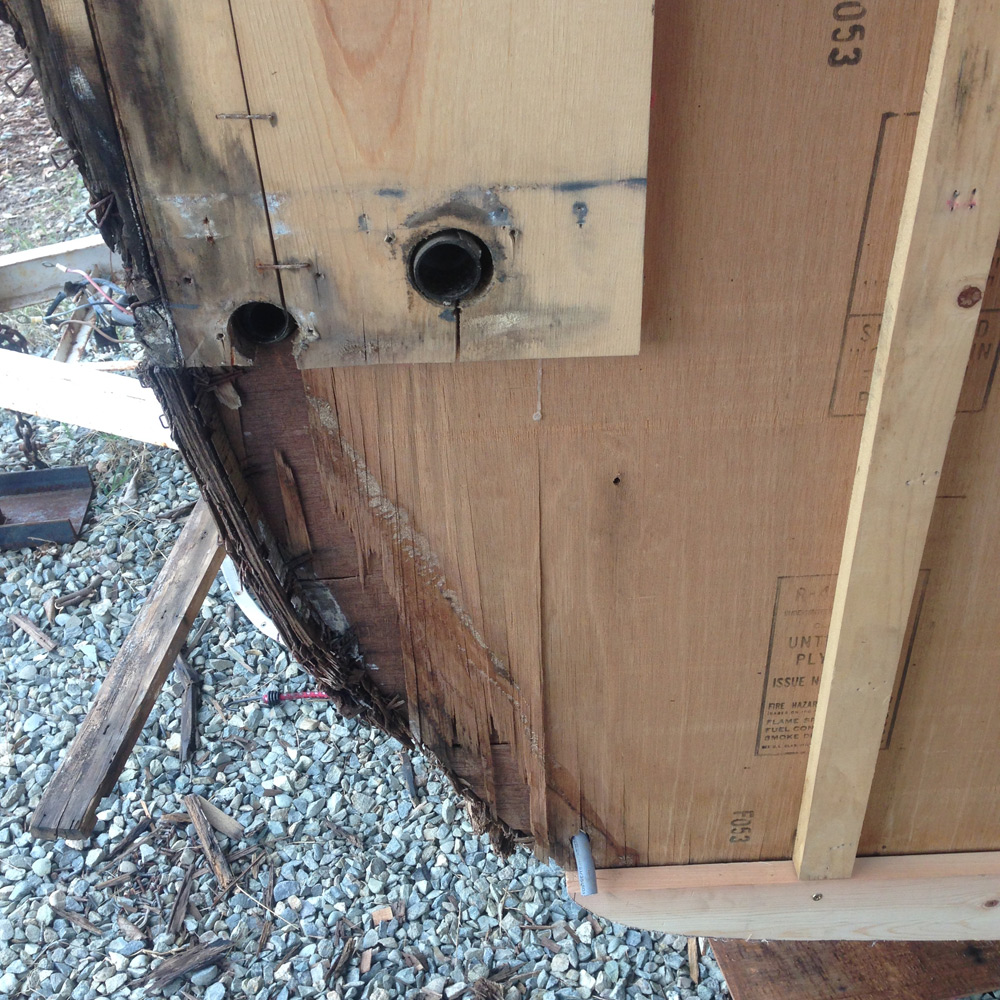
So here is what we’ve accomplished. The first step was to remove all of the exterior light fixtures, windows, and doors. Next was to carefully remove the aluminum trim and siding. This was a painstaking process since each paneling was stapled in and these staples are over forty years old! Many times they are too brittle to get out in one piece. Below you can also see some of the dry rot we have been dealing with. Mainly it is just around the edges so we end up ripping/cutting/sawing or whatever means are necessary to get out that rotten wood, then replace with fresh pieces.
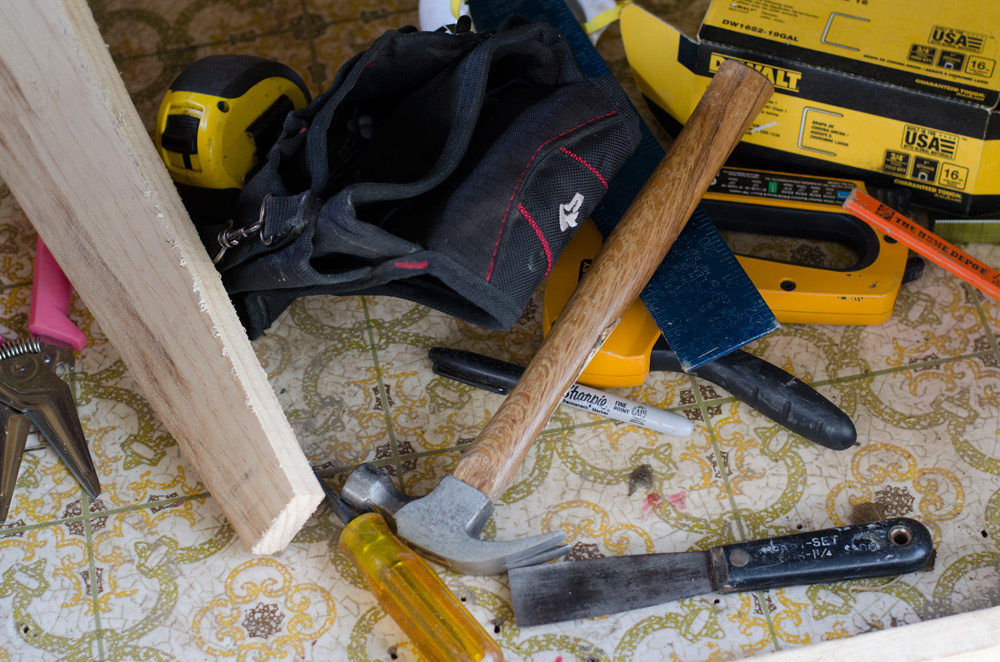
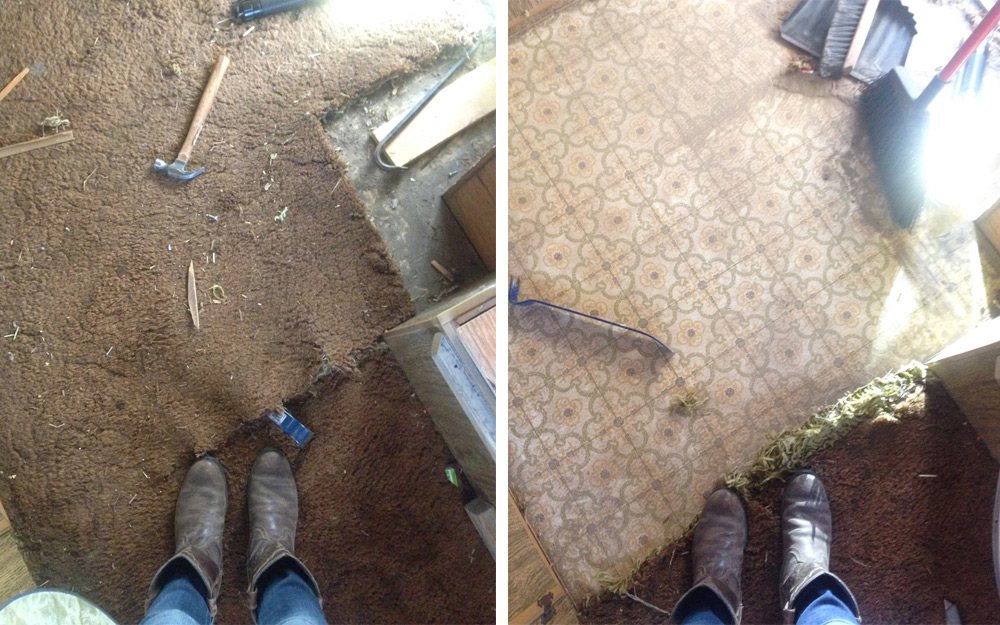
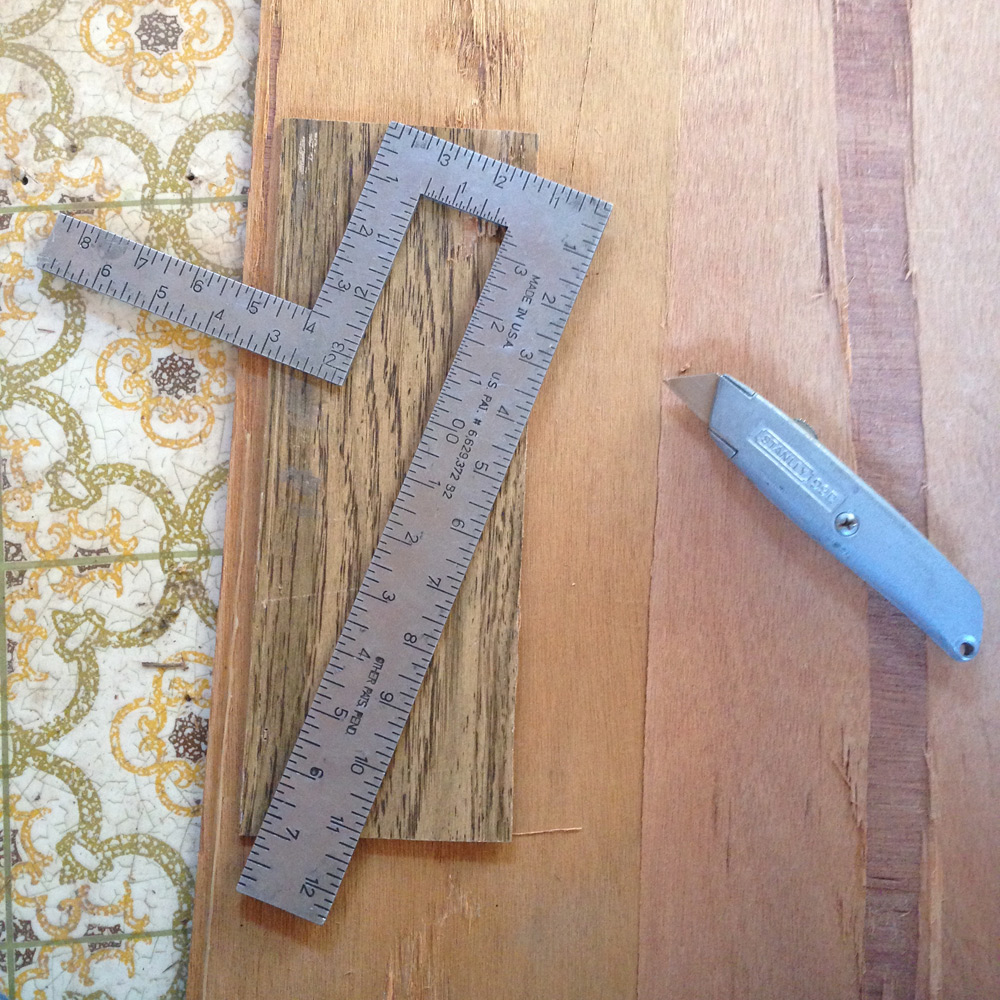
This is what was going on on the inside of The Wild Aspen. We tore out the carpet to find some old linoleum. I am actually quite fond of that linoleum, but we will have to cover it anyway since it is not in the greatest shape.
See that cupboard above that window? That opens up and lies flat to create another sleeping space. But, we ripped it out. I sure don’t want someone falling on top of me and killing me in the middle of the night. We may make a little hammock or cot for a sleeping space for kids in the future. You can see in the demo process the thin layer of wood paneling, then insulation, and the metal siding.
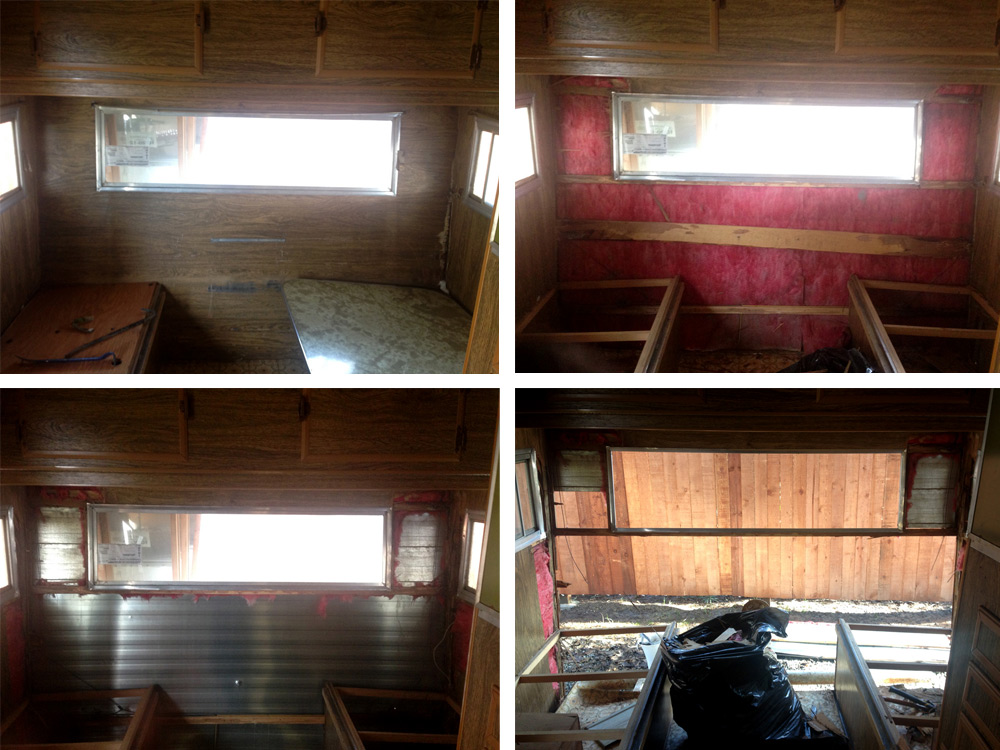
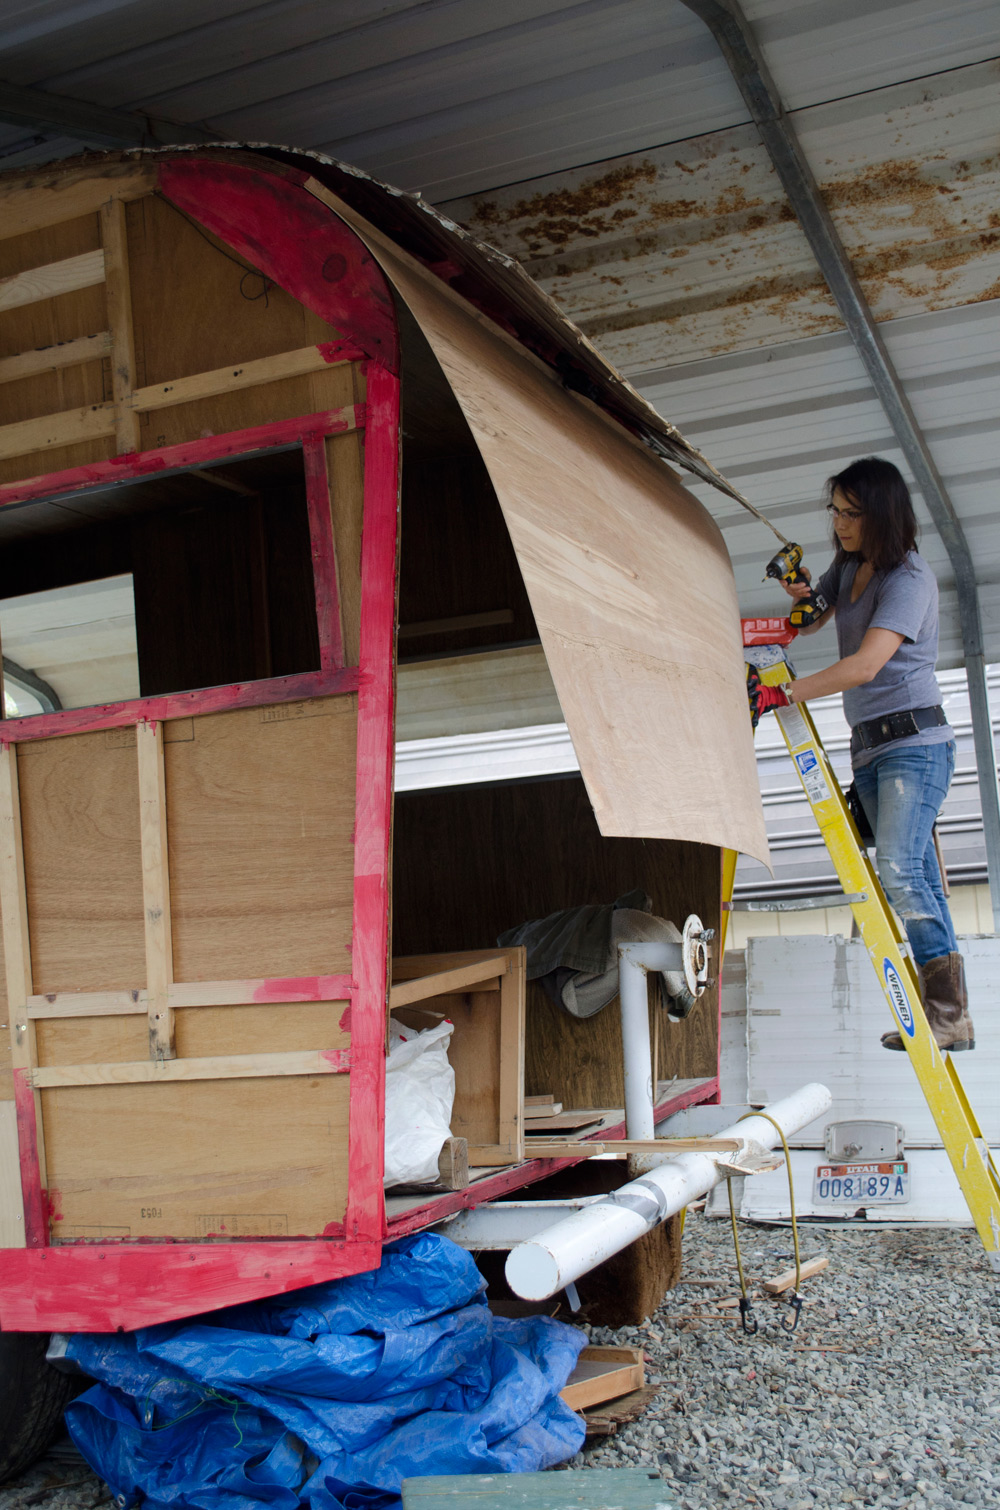
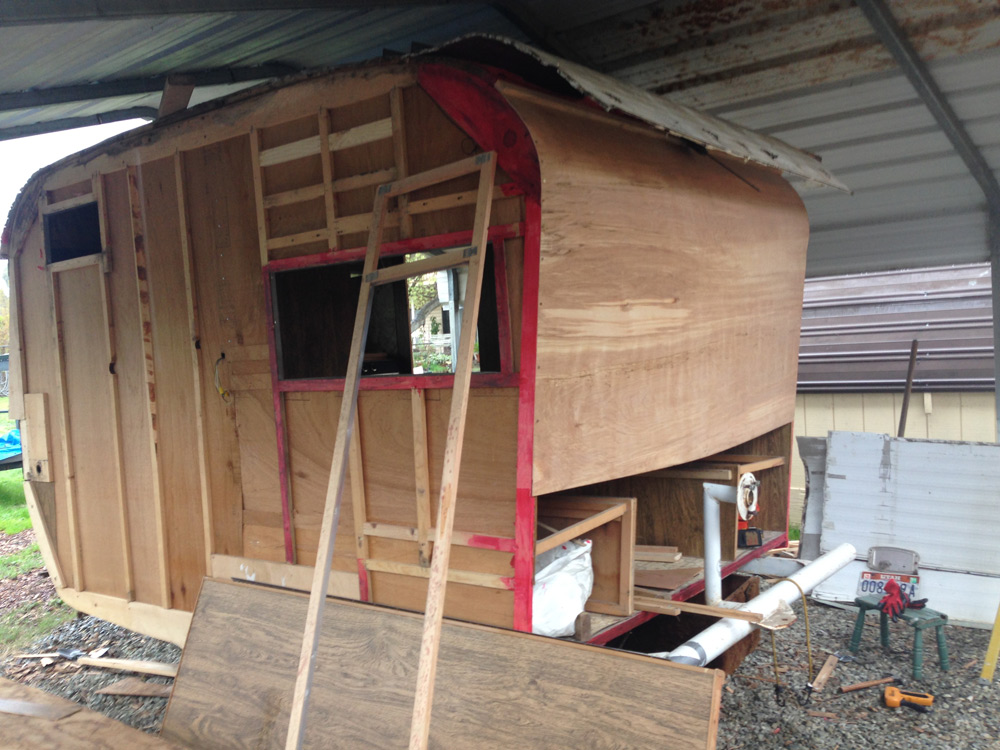
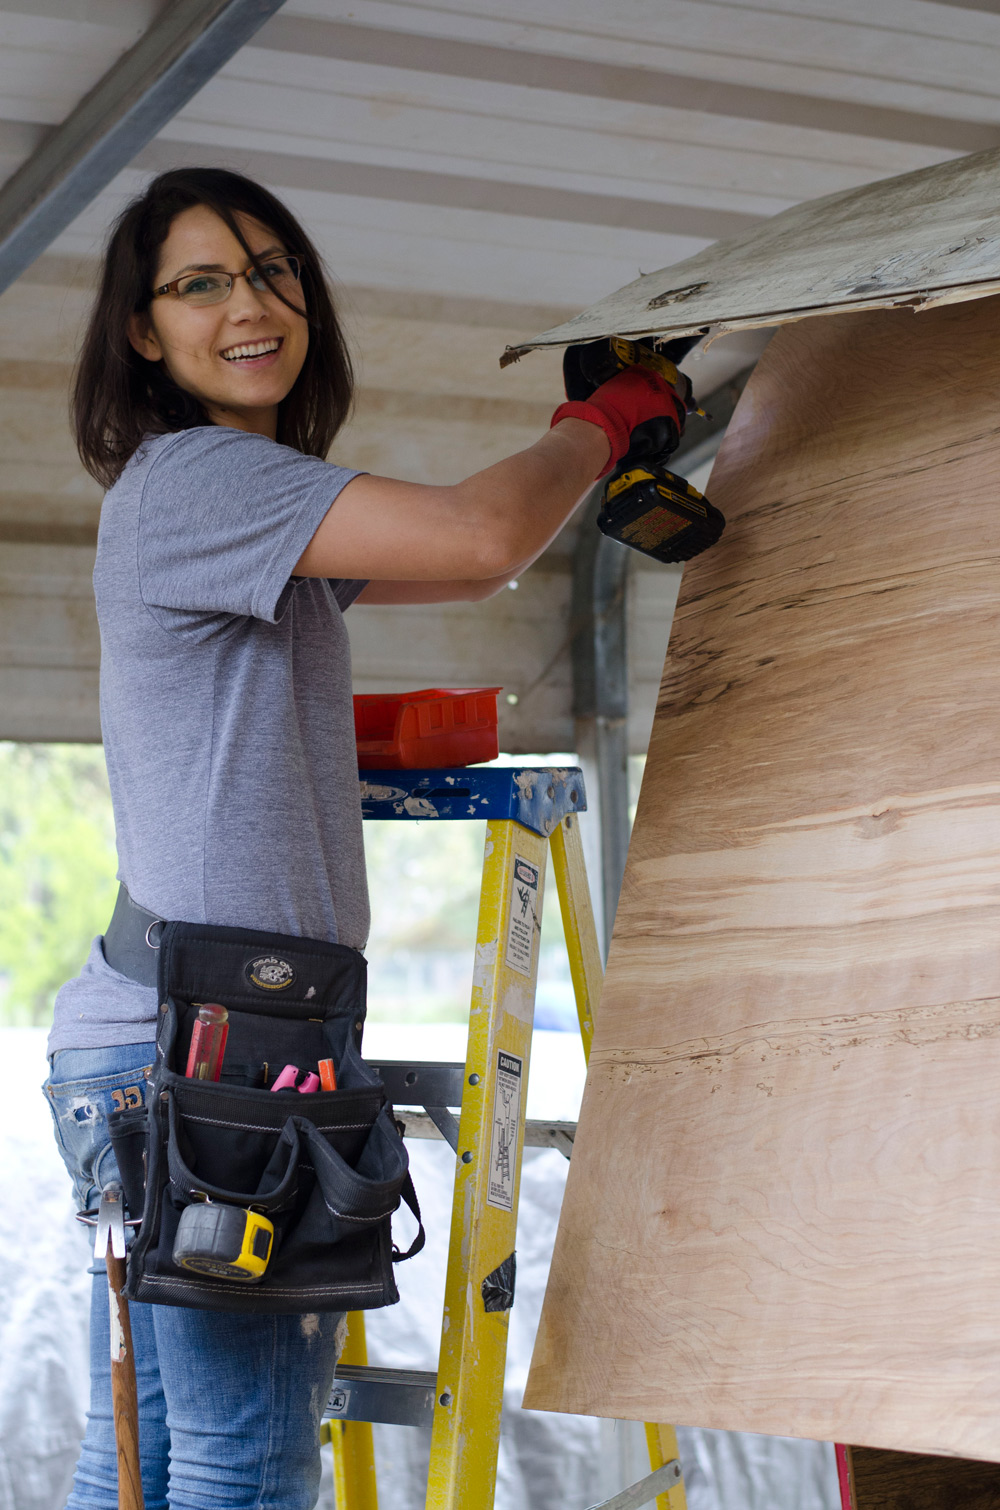
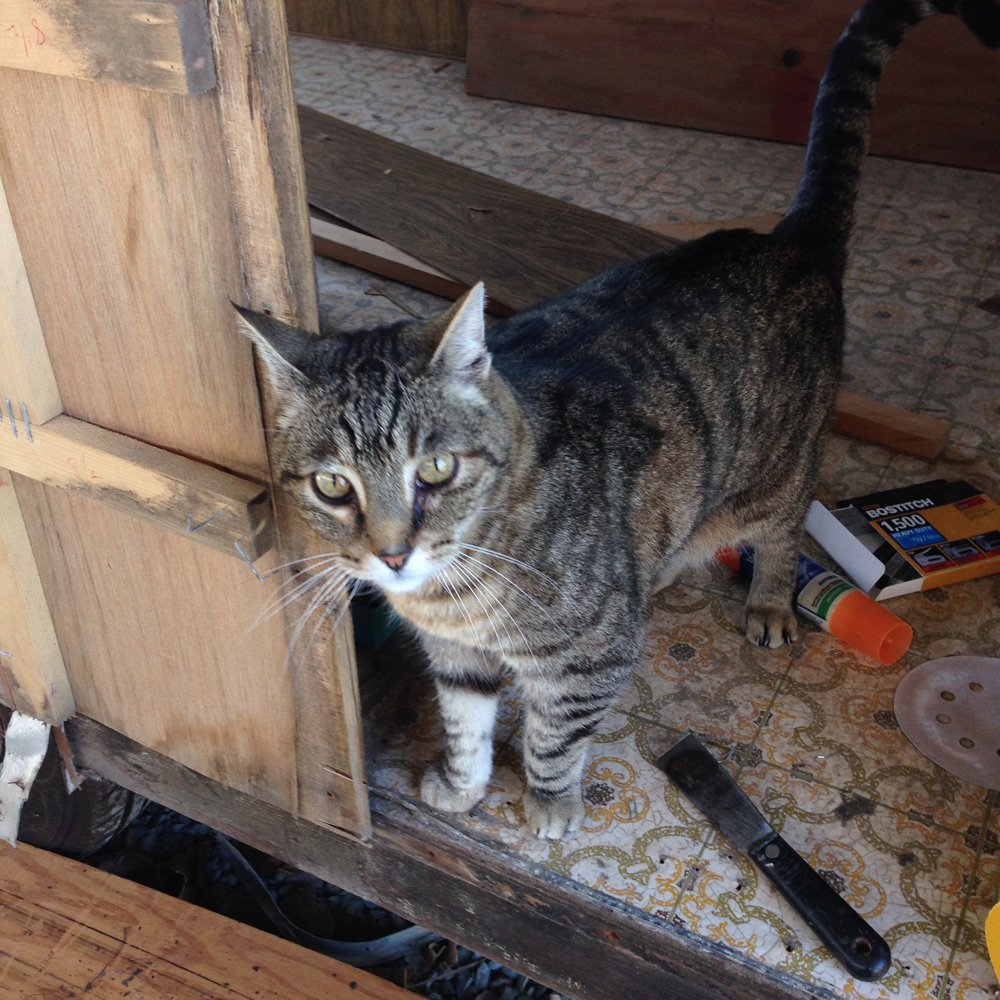
I built some new window frames with 1 x 2’s and metal mending plates then placed the old aluminum window edging back in. And Kruzer or Mouse the farm cats are always there to keep me & mom company. Below you can see more of in with the new and out with the old!

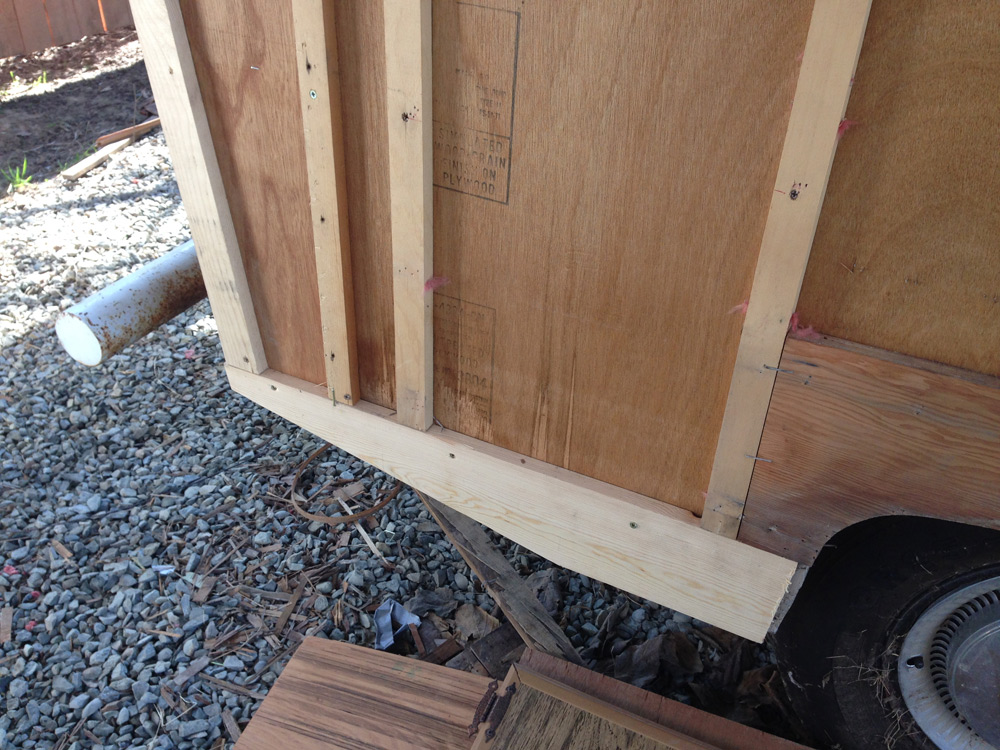
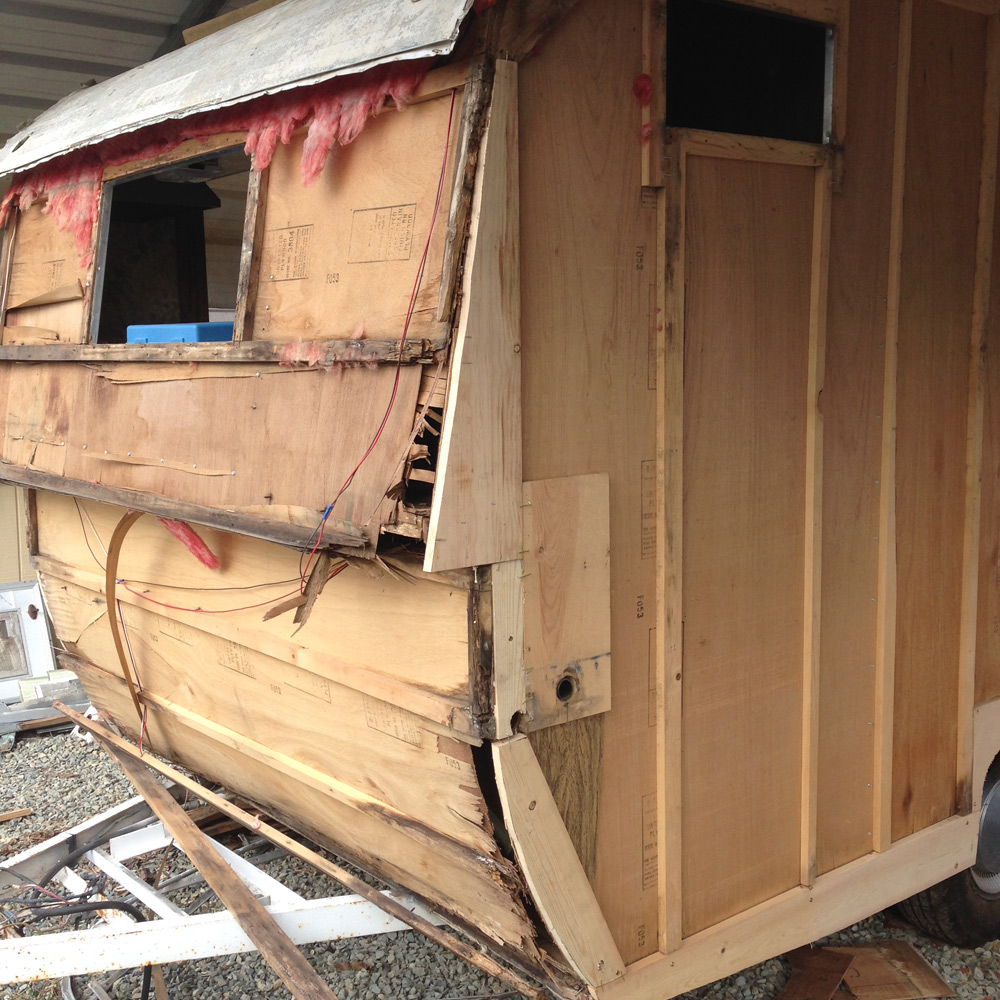
The bright pink stuff is a waterproof layer that will help repel any extra moisture. You can see here the new wood paneling being installed. And that is kind of the stopping point we left it at. Working during the winter was not easy trying to time work around the rain. This year we actually got rain, so no complaints there, but it was definitely challenging trying to get a tarp on and off of this thing in between storms! Now that the garden is mostly planted, the goal is to get back working on this so hopefully we can make it out on some camping trips by end of summer and into fall! Stay tuned and be sure to follow along @thewildaspen on IG!